So you may have noticed on my social media and the blog here that I have moved back into my A5 Filofax. I think I was trying to keep too much in my tn and I was losing where stuff was. I was also getting angry with myself for not being able to write in it very well either so, I’m back to rings! Today I am showing you around how I have set it up so far. This as always is subject to change and if I do any major changes I will update you all.
Filofax
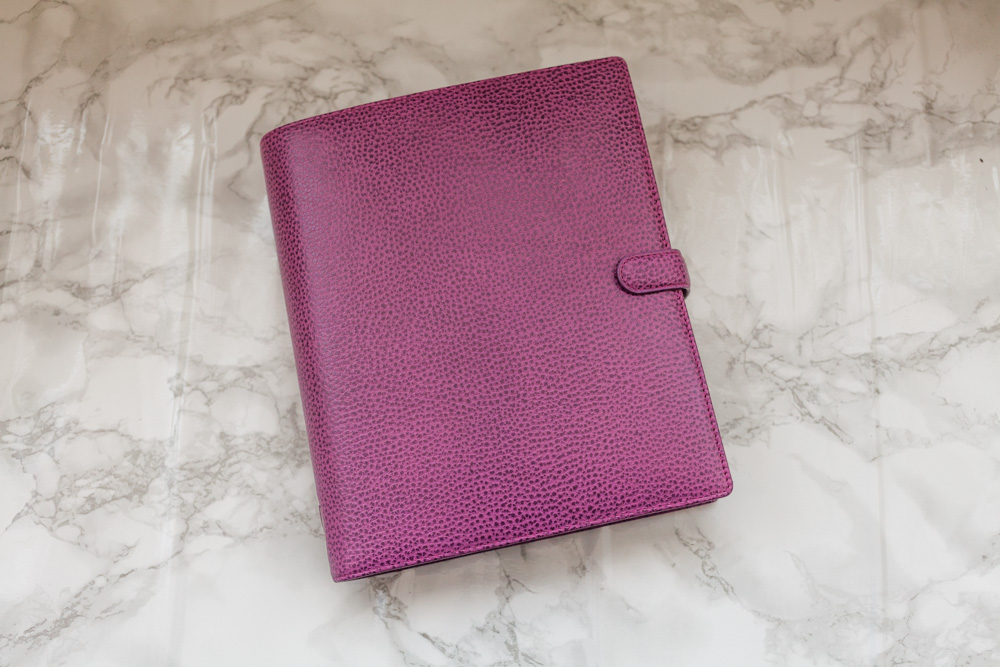
So I got out my a5 Finsbury, I love this binder! Big bonus, 2 pen loops, I always carry two pens around with me, a normal everyday pen and then a graphic drawing pen. I love the texture on the Finsbury and the raspberry is not very pink, it’s more purple than anything.

Super simple back to this Filofax but the cover is really sturdy and it means that I can write on my lap without a table or cushion. And the best thing about the Finsbury…
Two pen loops! Let’s get into the planner and show you how I have set this up. Grab a cuppa it’s going to be a long one with lots of photos.
Inside the Filofax
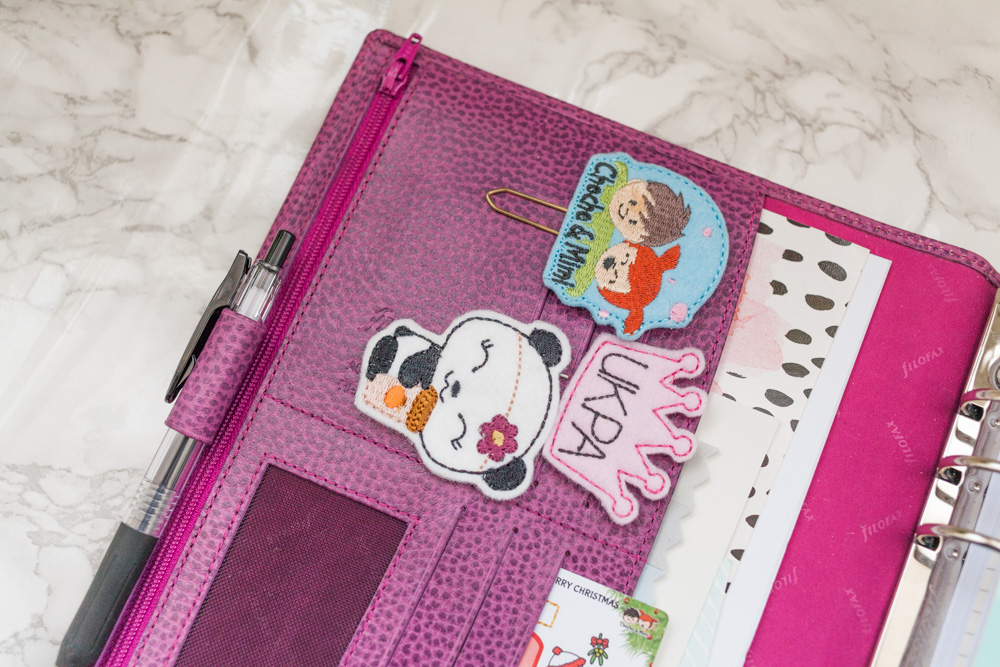
The Finsbury has a few pockets and a zip pocket behind the front pen loop. I have a few of my fave paperclips in the pockets I have one more on the way to add that is a Christmas Panda from My Unicorn Planner. I can’t wait to get my hands on it!
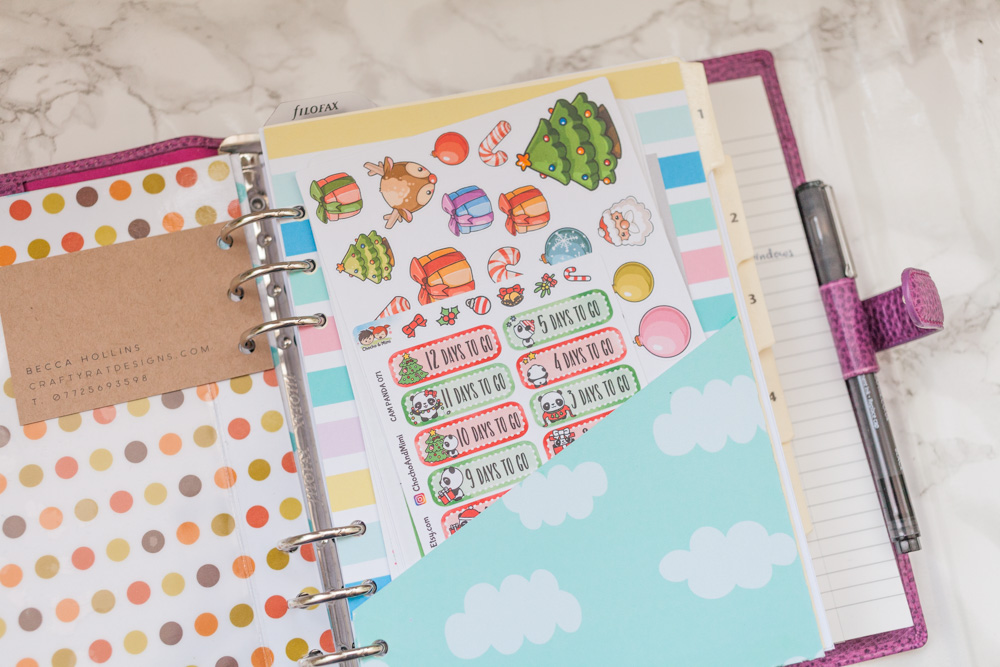
I also have a few dashboards at the front and this folder that holds a few key stickers for me to decorate my planner when I have a second to spare. I may have to add a photo of me and Jono to the front of this.
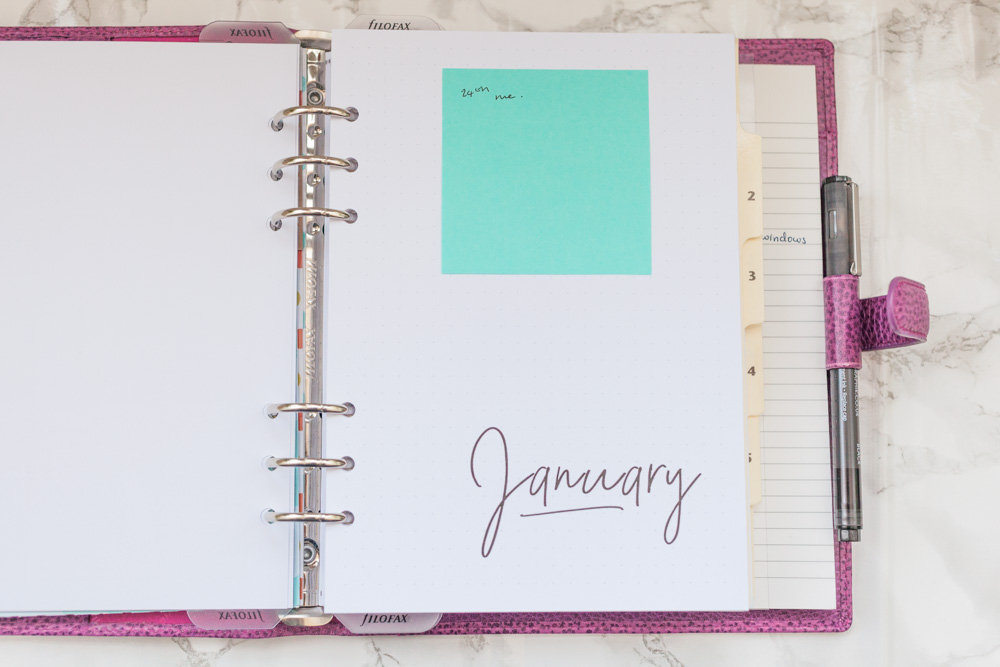
I have 6 sections in my planner and the first is my monthly insert, this is where I keep all my appointments. I forward plan on Google Calendar and then transfer the information each month so that I have it on hand. I have one quarter at a time in here so that it doesn’t bulk my planner.
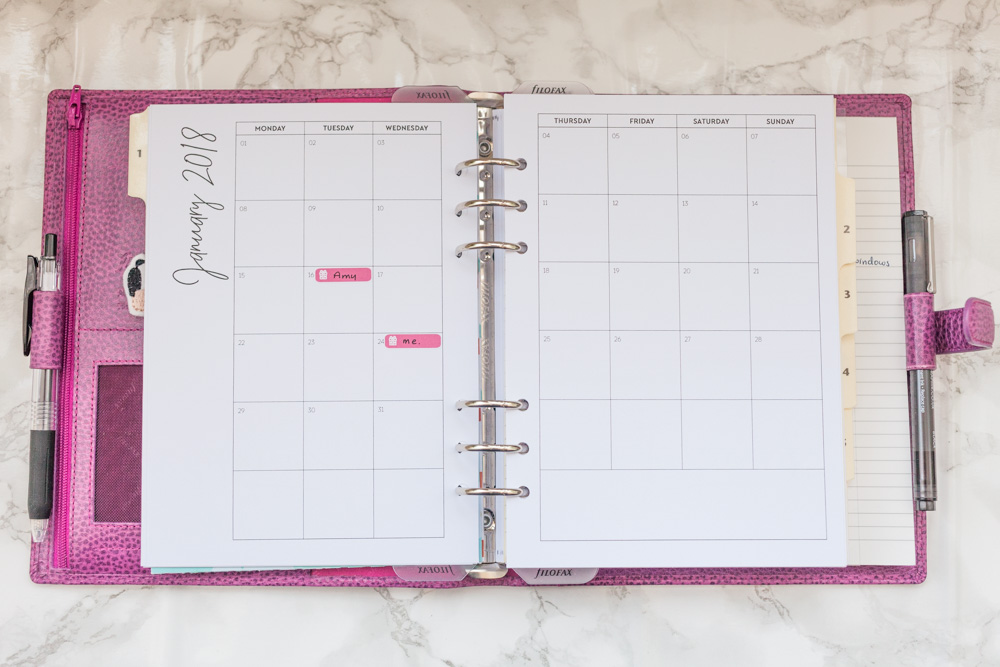
This is what the month looks like. I have already gone through and put in people’s birthdays, there’s mine on the 24th. I actually decorate this at the end of the month for the upcoming month with some washi and stamps as I have printed this on 120gsm paper.
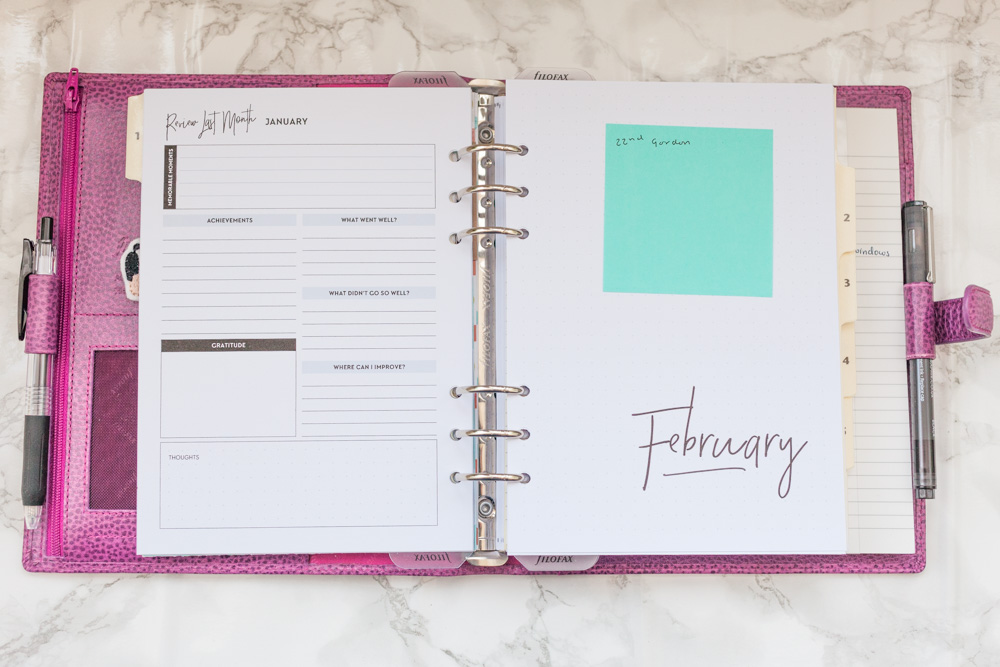
At the end of the month, there is a review page so that you are able to look back on the month and see what went well and what didn’t go so well. And I like that the front of the month has a blank cover page that you can decorate or put that month’s goals on it.
My next section is something that I have been trying to do for about 12 months. Journal. I have tried to do it in a variety of different ways and I decided to just stick some Filofax paper in my planner and just write down my thoughts, I may creative journal days out but my day to day thoughts just go in here.
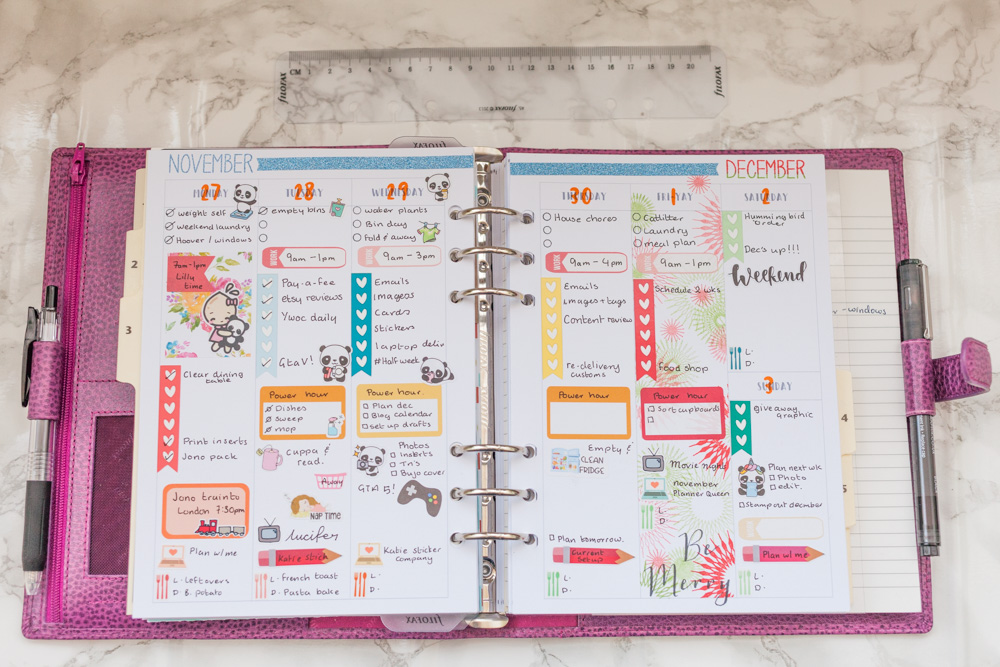
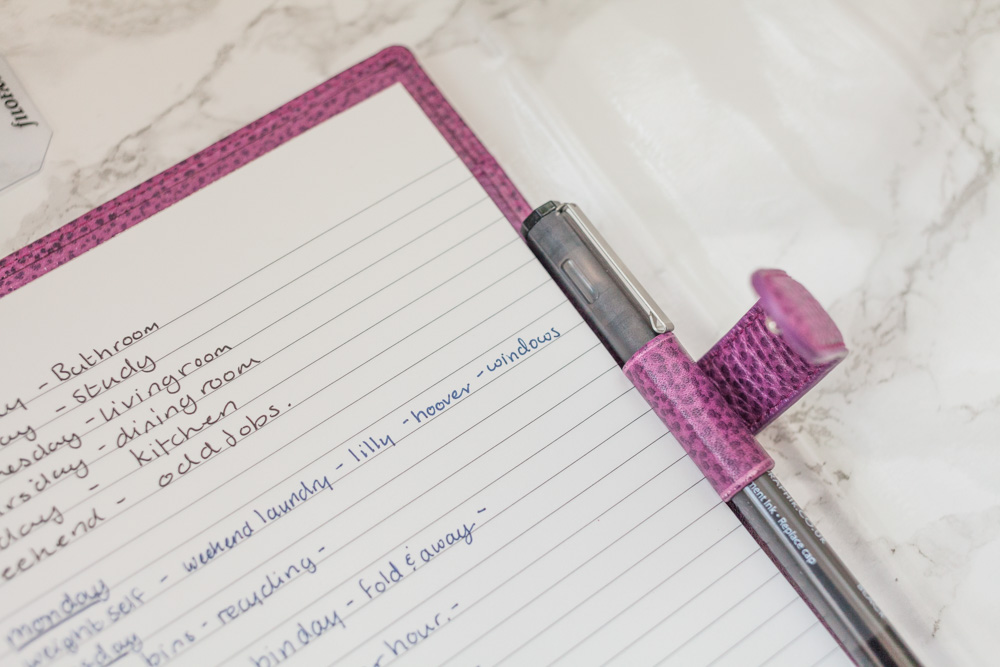
Weekly inserts are the meat of my planner, this is where I do my main planning and sort out how my appointment go together each day and then I kinda know how much time I have in the day for other stuff. I am seriously thinking of making my own hourly inserts or at least asking Kim nicely!
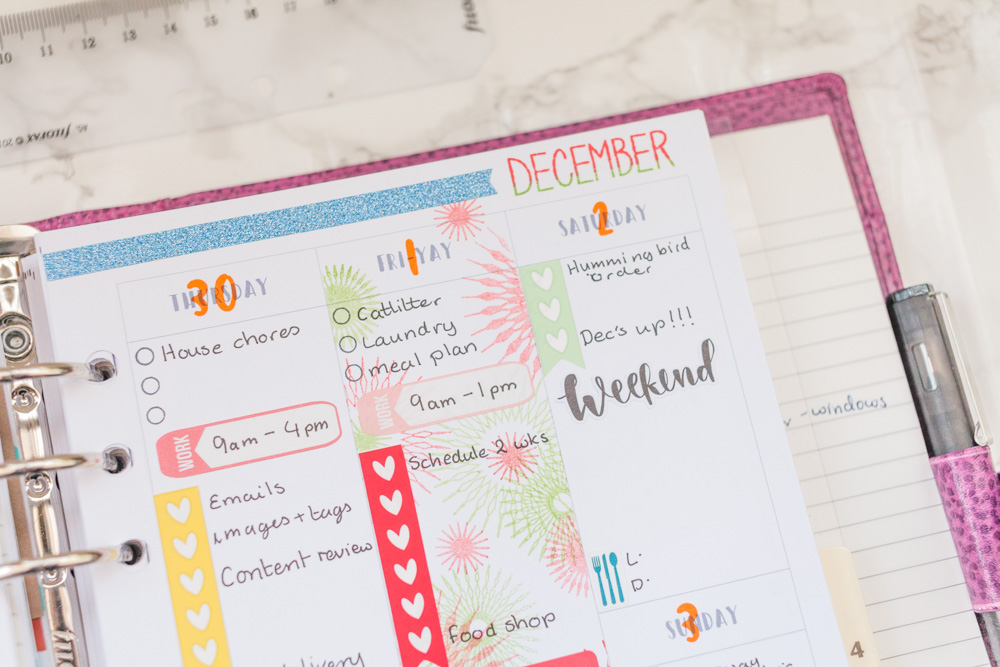
When I made these inserts I may have changed Friday to Fri-Yay… Gotta have a little celebration somewhere! I also kept the weekend small but I might regret this as I tend to do a lot of work on the blog on a weekend.
![]()
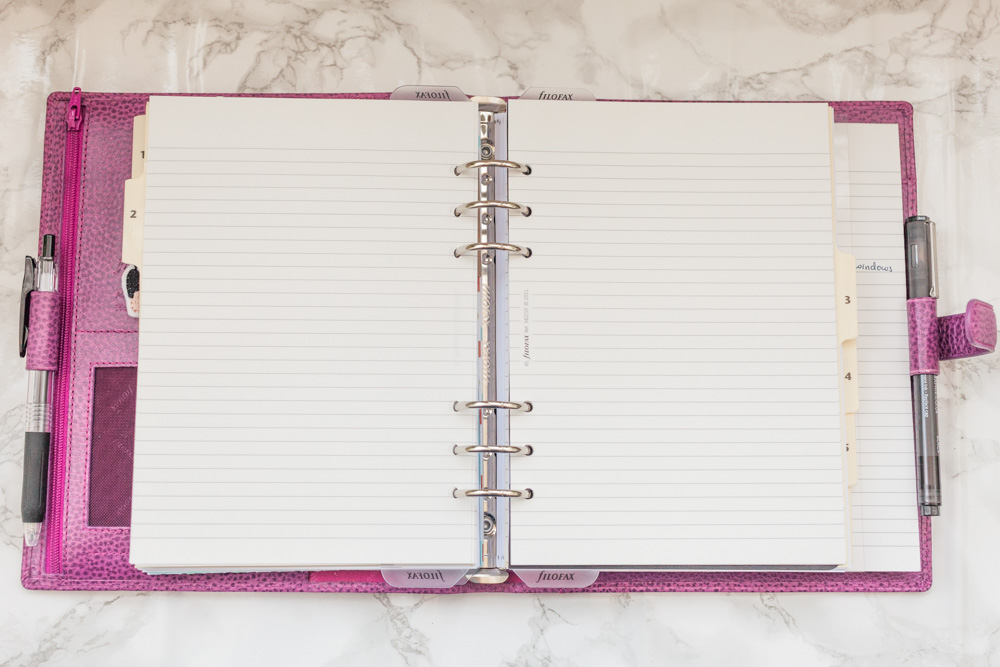
This is what the blank week looks like before I plan out my week. Super simple and not a lot to them but it means that you can do a lot with them and you’re not constrained to the actual design of the inserts. Clean and simple!
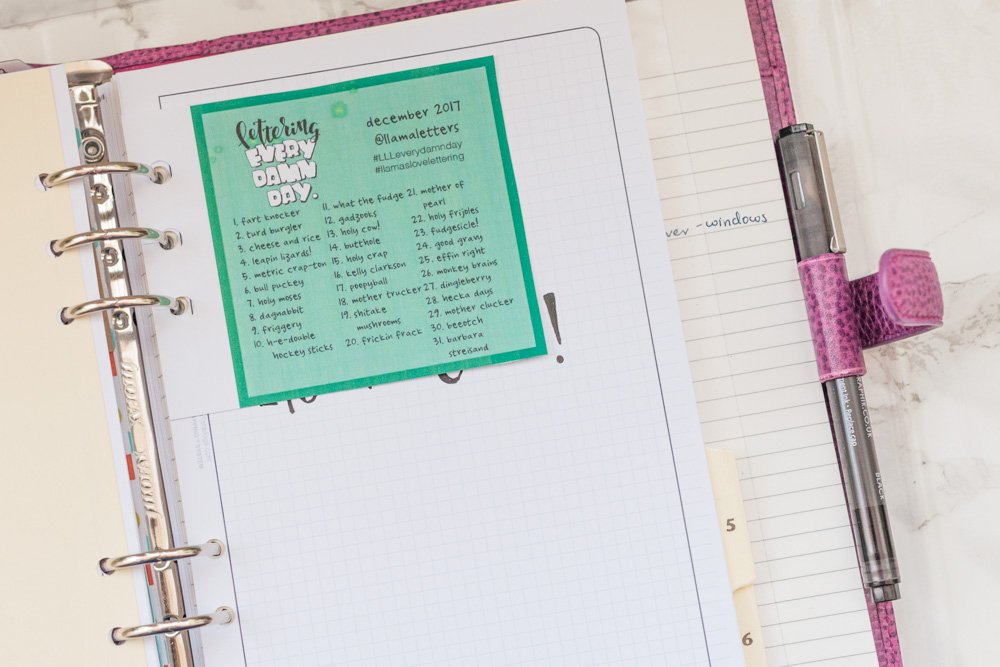
The fourth section is my lettering practice, I will get responsible good at one font at least I can then expand my shop a bit to other fonts and products.
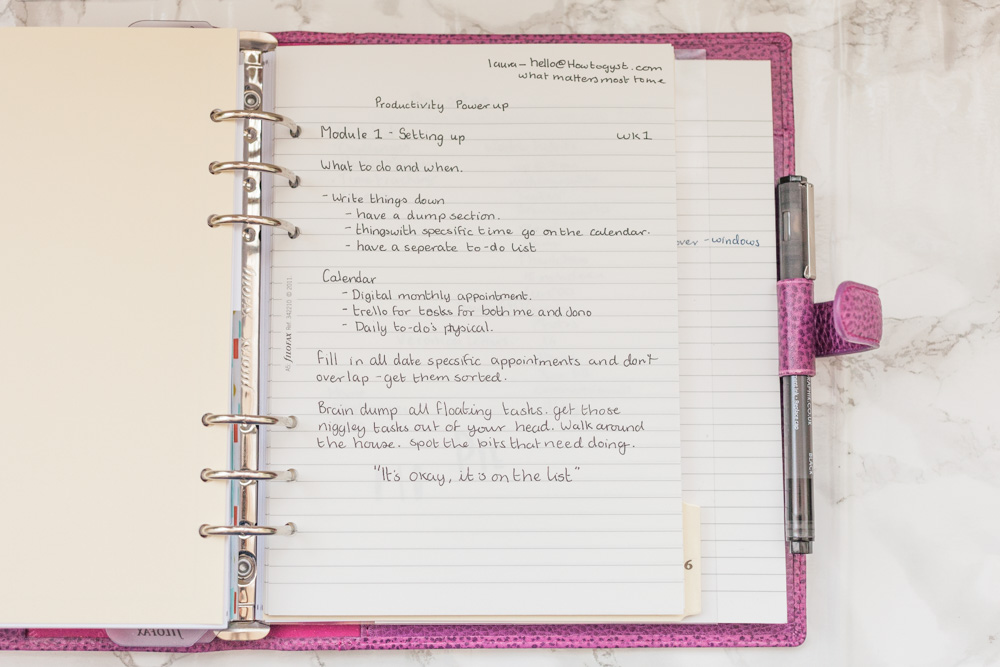
This is just my general notes sections. I take down ideas for blog post’s in here and any course that I am doing as well. It just has a bunch of Filofax paper in it, to be honest, I like the paper and it lasts a while for me.
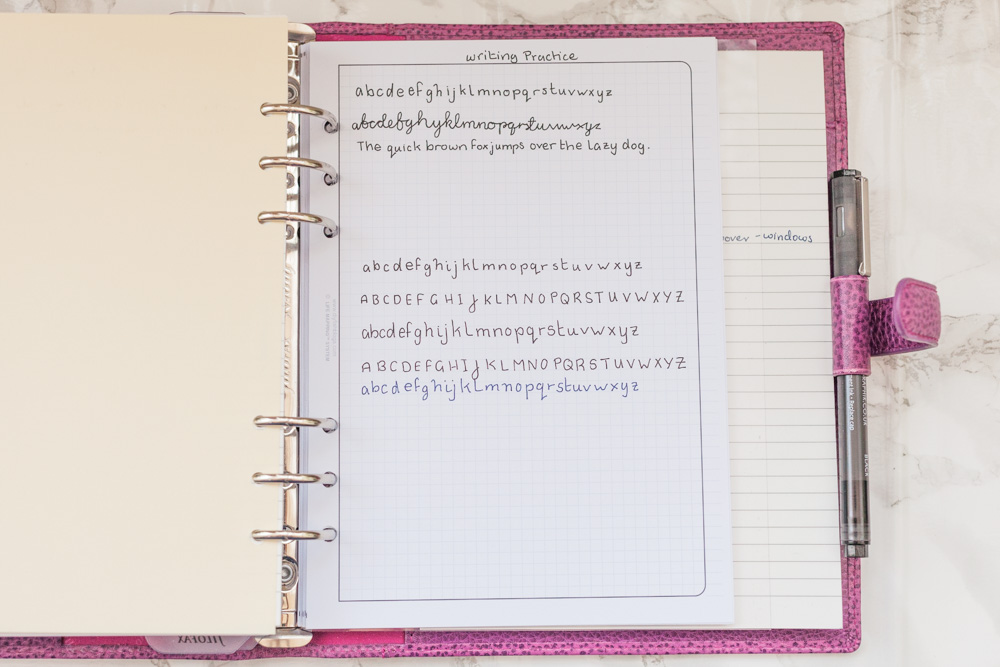
This last section is where I am practicing my handwriting, just trying to neaten up my everyday writing and the font I use. The grid is nice as it helps me keep all the letters a uniform size. I also have a pad of Filofax paper in the back for quick notes to give to people so I am not tearing it out of my planner!
That’s all from me today! If you like what you have seen here make sure you hit that follow button on the left to get notifications whenever I post bloggity stuff. And you can follow me on Instagram @samplanslife.
Take care of yourselves!
Sam
It looks great. I have the A5 Raspberry and I love it. I aren’t using it at the moment but I’m trying to find a use for it. I love that it isn’t too chunky which makes it better for portability:)