Hello, lovely people! How are we all doing? You may have noticed that I have been in strings for about 6 months now and I am loving it. Katie over at Organise With Katie has just released a load of traveler notebook inserts go and check them out. I’m going to show you how I print and bind my inserts. Now, this is not the only way, this is just the way that I have learned how to do this. Not only am I going to talk through how I make my inserts I am also going to share the tools that you will need to make your own inserts. Grab a cuppa and let’s go!
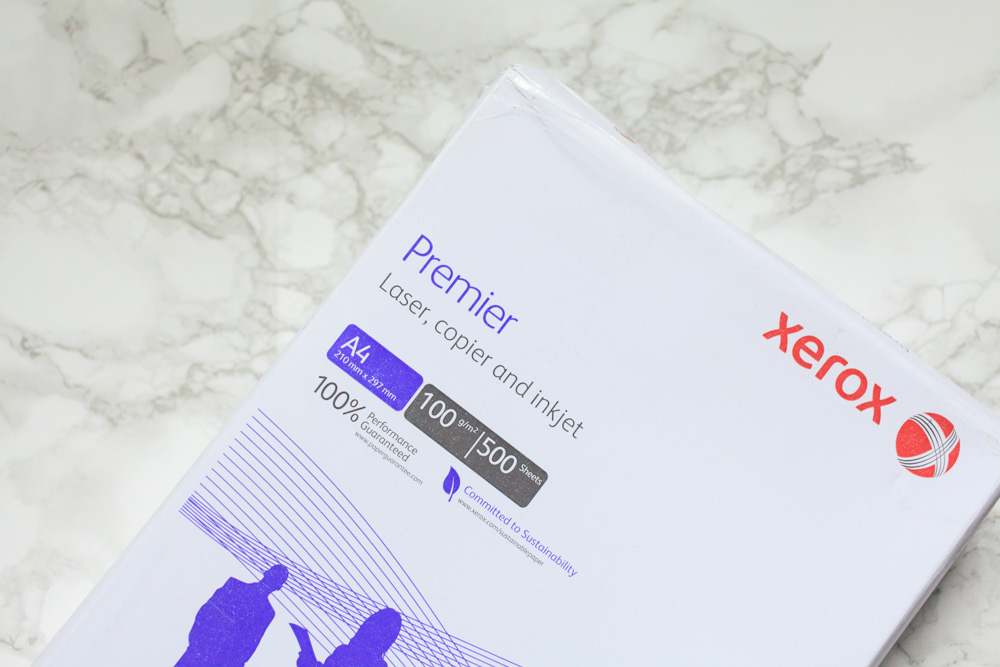
This is the paper that I use; Xerox A4 100gsm Premier Paper is 100gsm. Yes, I am a paper snob! I have been using this paper for a while and love it, I alway recommend this to anyone wanting to print their own inserts.
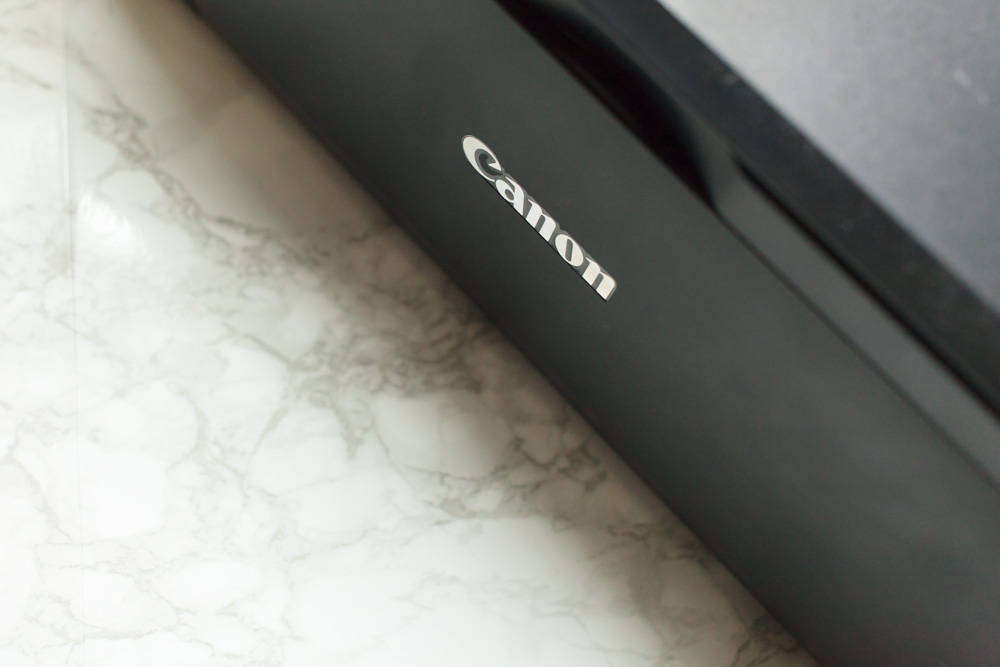
I have a Canon printer and this has duplex printing which makes life a lot easier when making your inserts. Trust me if your’s has this setting use it, you will thank me later. If not, then you will need to have a dig in your setting to find this setting or you will need to print the odd pages first then flip the stack and the print the even. But Katie includes a help sheet in every purchase to help you.
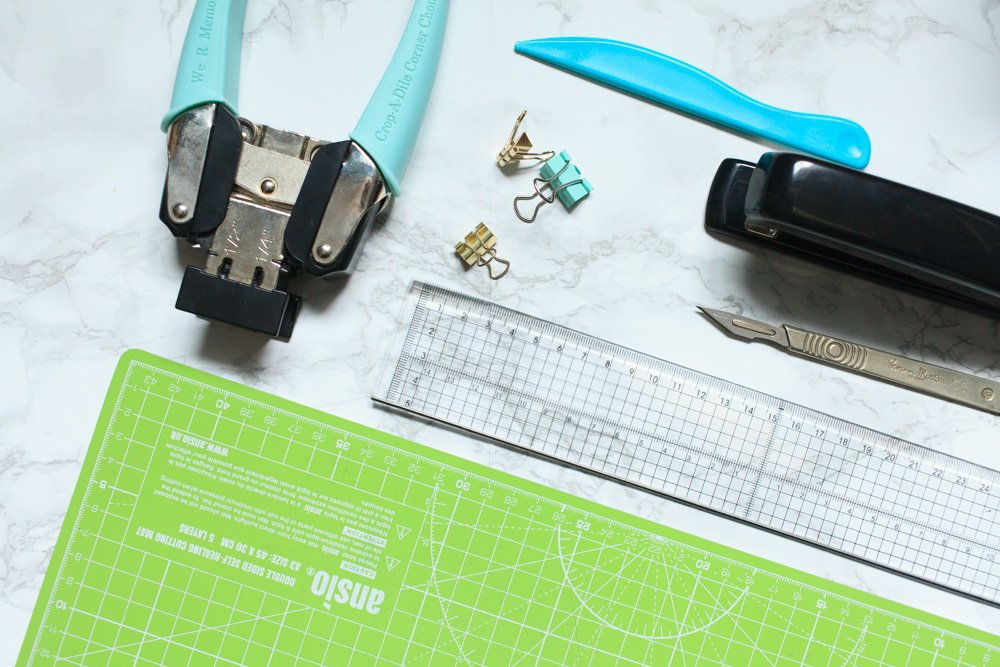
An assortment of tools!
- Cutting mat
- Ruler with a metal edge
- Knife – make sure that it has a sharp blade
- Long arm stapler
- Binder clips
- Bone folder
- Corner rounder
Most of this is essential to doing the bone folder is optional but if you want a nice crisp edge then I would suggest getting one and the corner rounder is again optional I just like having round corners. Once you have picked the inserts that you want and have downloaded the files you will need to open the PDF.

Once you have the file open it’s time to get to printing!

These are the setting that I use. Also, don’t forget that Katie also includes a help sheet in every order so that you have a good bit of guidance with your order. So, once it is printed time to get to binding.

I always fold my inserts first. So use the bone folder to get a nice crisp fold and put the booklet together in the correct order.

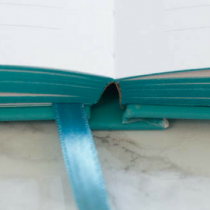
There are a few different ways that you can bind your inserts or your don’t have to bind it. I prefer to use a stapler this one folds out so I can staple and then close the staples manually I would suggest getting a long arm stapler, it’s on my wish list.
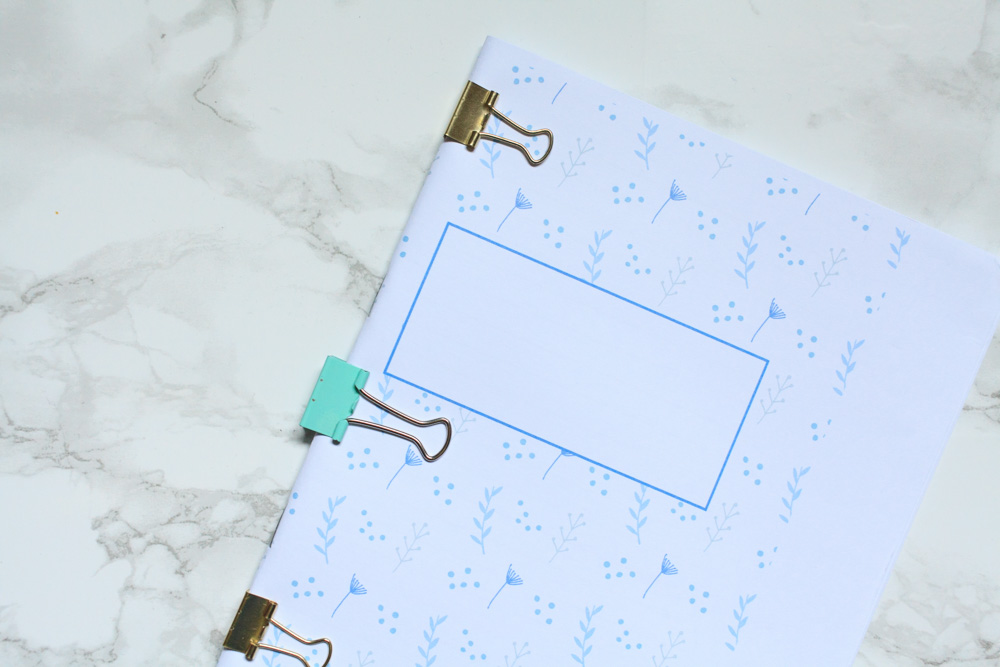
Once bound I would suggest putting a few binder clips on the spine to hold the insert in place while you cut.
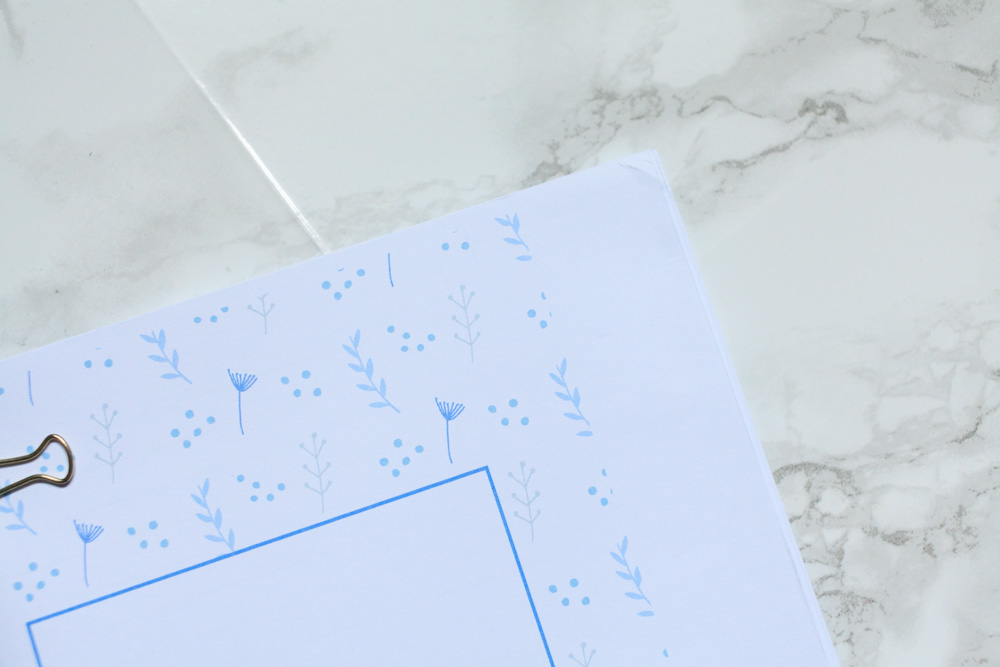
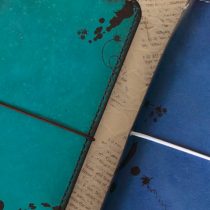
With the metal side of your ruler line up the two cut marks, they are there trust me they are just a bit hard to see.
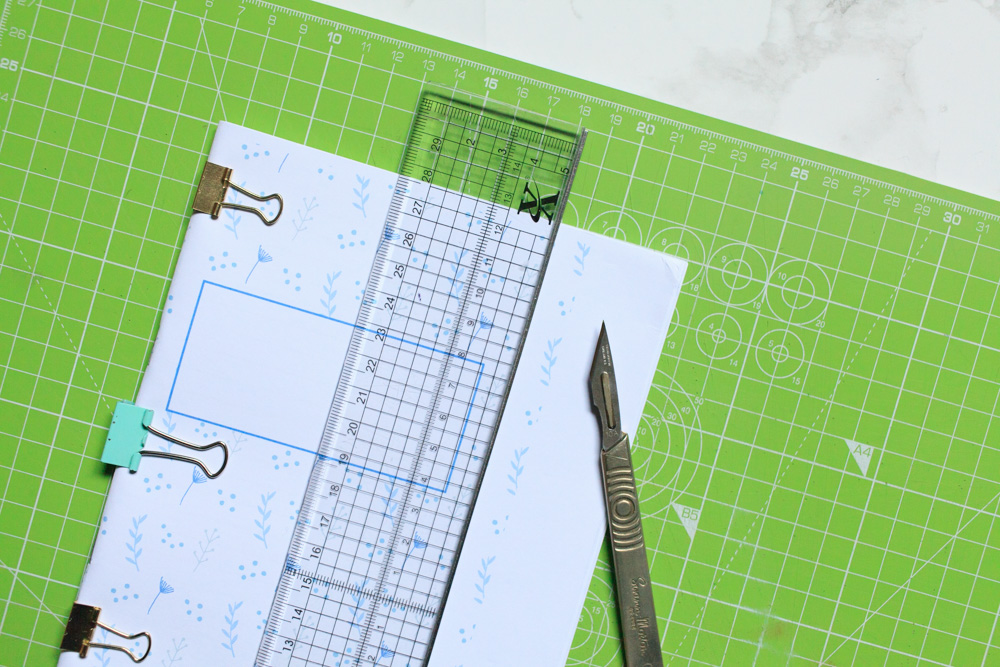
Time to get cutting. The best way to do this is to go slow and steady and don’t rush because if you muck this bit you, you’ll be kicking yourself. Going slow also ensures you get a nice crisp edge to your pages as well.
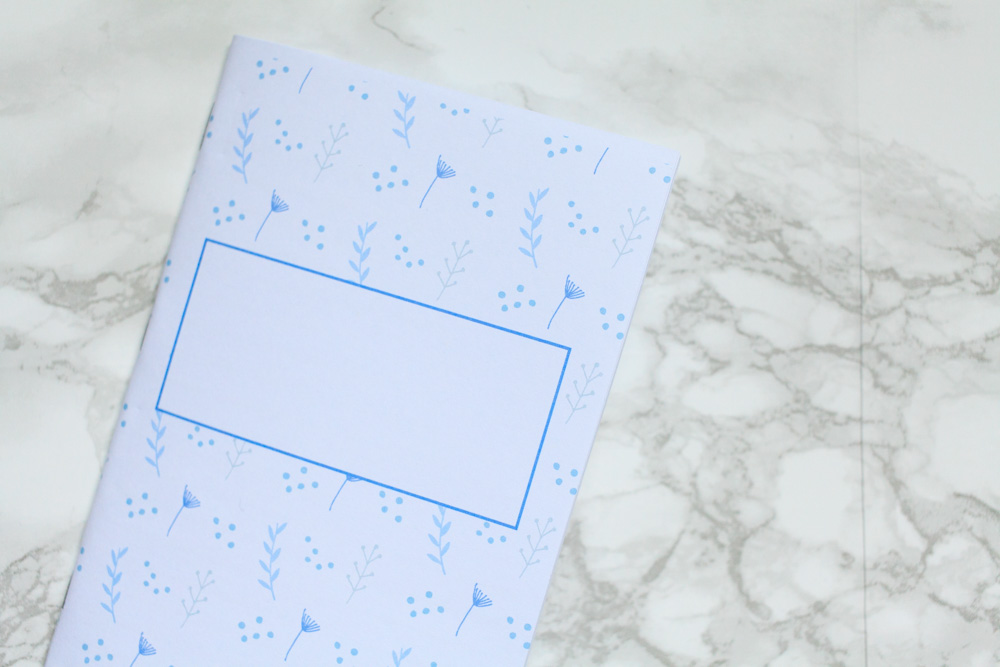
And that’s it you are done! Just need to pop it in your TN and on your go. Or if you’re like me and like rounded corners you can use a We R Memory Keepers corner rounder.

This is totally personal preference but I love the look of it. Then pop in your cover and you are done! Super easy and if you print off a few inserts at a time you can build up a little production line.
That’s all from me today! If you like what you have seen here make sure you hit that follow button on the left to get notifications whenever I post bloggity stuff. And you can follow me on Instagram @samplanslife.
Laters!
Sam