There are so many ways that you can make your planner your own and I love using stamps in mine as you can get some really unique looks in your planner week in, week out. I have used a few different stamps sets and the Speech Bubble stencil with inks from Papertrey Ink.
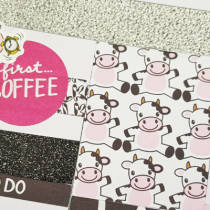
Just a little about my planner, it is a Classic sized Happy Planner. I have July through March in it and then a 6-month Expansion that I am using as a blog and social media planner. Once I have settled into this I will do a flip through it.
Onto the planner!
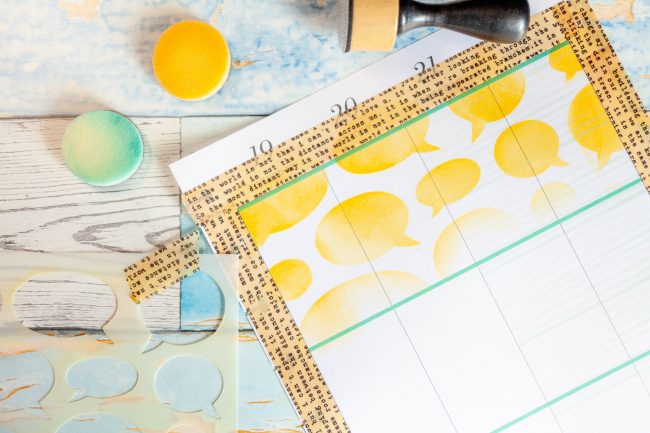
I love the Speech Bubble stencil, you can do so much with this and I wanted to use this as a background for my pages. So I masked off the edges and start inking some bubbles.
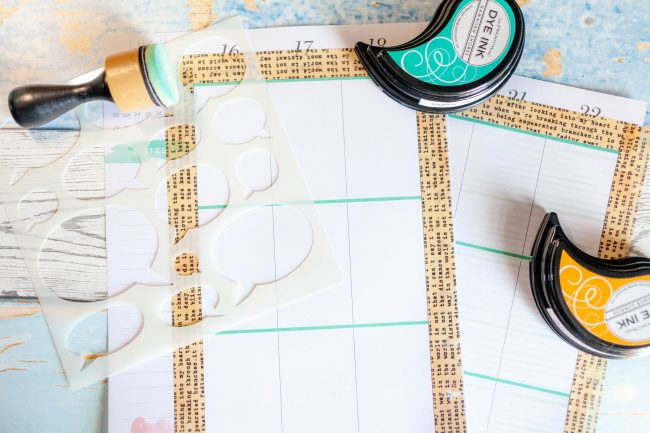
I really wanted to have both of these clours in so I did the yellow first and just went to town with the ink on the page and to be honest I am really impressed with the paper in the Happy Planner it held up to the ink really well!
Time to get a bit of green on there! I really like how this came out and the stencil is so versatile. Not only can you use it like this but you could just also draw around the inside to highlight appointments.
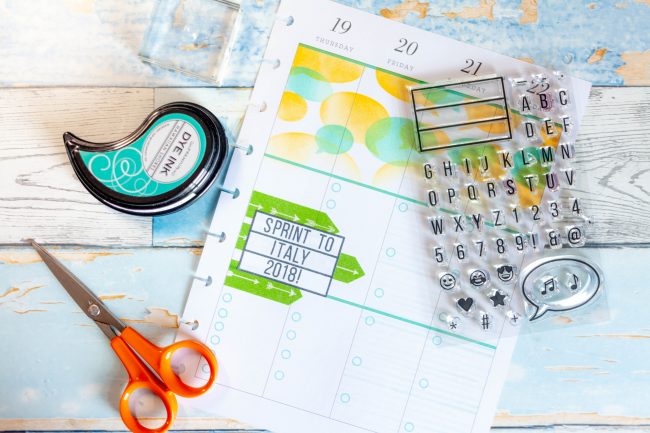
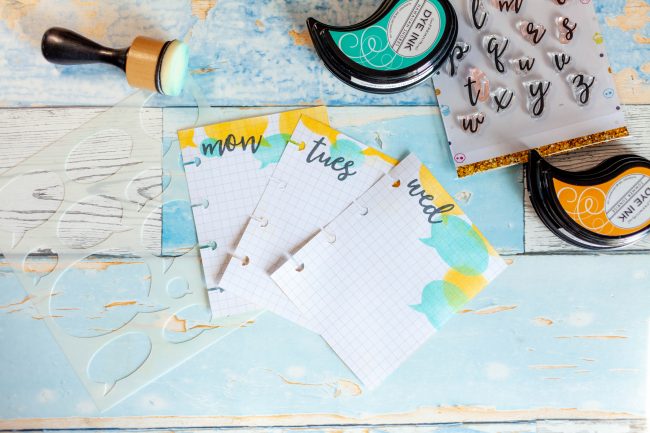
I also used the Lightbox Love to highlight when we set off for Italy! I can not wait for this 10 days getting list around northern Italy, Make sure you follow me on Instagram to see some highlights. Also if you know me you know I love a daily sheet so I made some daily sheets to slip in.
I added a few more stamps and my week is done!
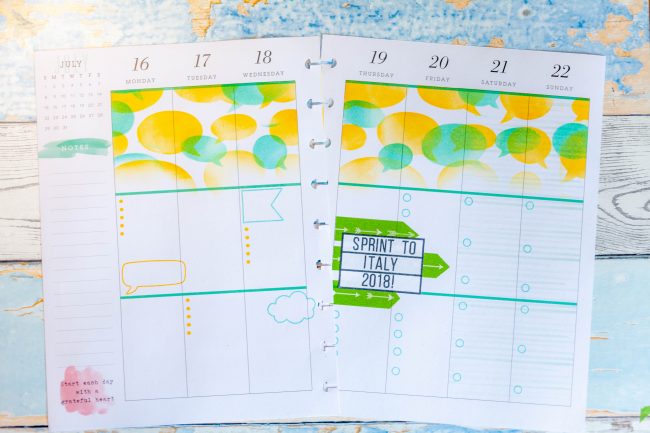
I really like how this has turned out and the colours just scream summer to me. I can’t wait to show you how else you can use stamps in your planner! Here is a list of the tools I have used.
Mini Ink Blending Tool-1″ Round
Lightbox Love
Calligraphy Alphabet
Planner Banners
Speech Bubble Stencil
That’s all from me today! You can follow me on Instagram @samalderson_. Or alternatively, you can sign up to get notifications everytime I post. Just fill in that box on the left.
Stay Happy!
Sam