I tend to gravitate towards planners that have a month, week and daily view because I like to see the big picture but also the daily nitty gritty! The Hobonichi is perfect for this! Today I am going to be showing you the planner itself and then towards the end of January, I will show you how I have been getting on with it and how I have been planning in it. Remember these pictures are nice and big so that you can zoom in and see all the lovely details!
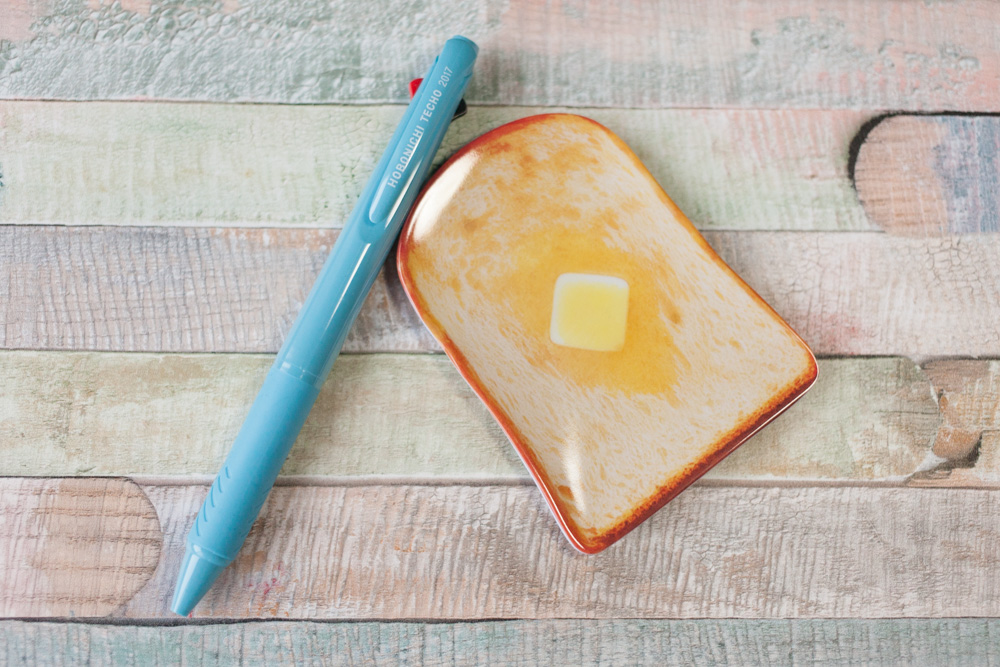
Every year there is a free gift and a pen included in your order, this year was this little toast plate and this pen. The pen is a Uniball Jetstream, which are fantastic pens and they write very smoothly and is very nice paired with the Tomoe Paper. Oh yeah, Tomoe Paper! This paper is the ULTIMATE paper in a planner. It is thin and bleed proof with the exception of things like sharpies and very wet pens. It is incredibly fountain pen friendly BUT you will get shadows so if that bothers you then the Tomoe paper is not for you. Let’s get into the layout of this planner!
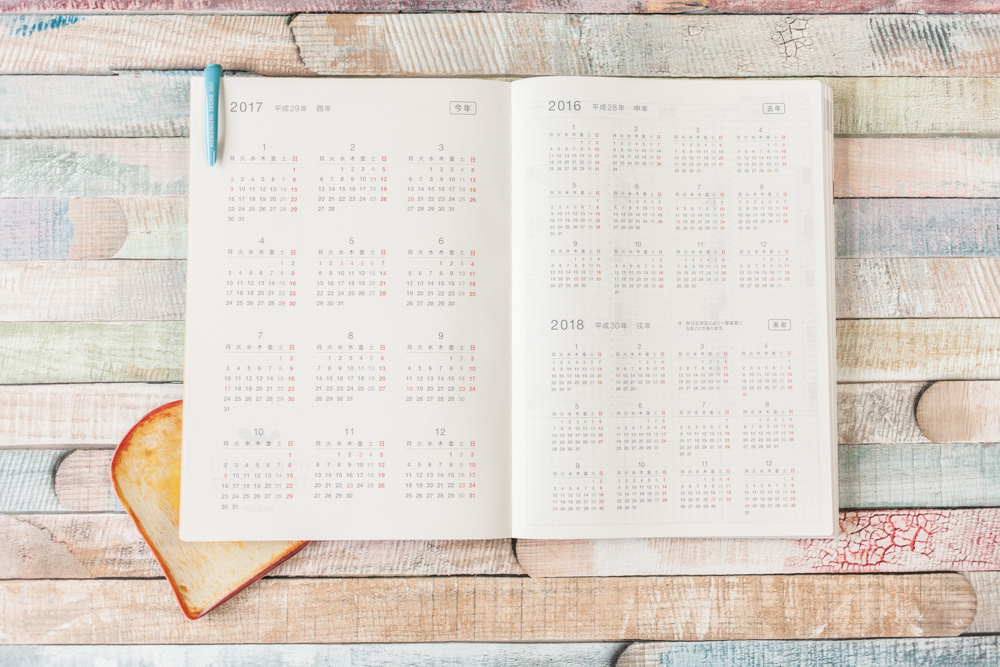
The first section that you get to is a year overview. This is great for tracking things that happen over the year, holidays, term time anything really that you need to see a year at a glance. I think I am going to use it for blog posts, purely because this is one of my goals for next year.
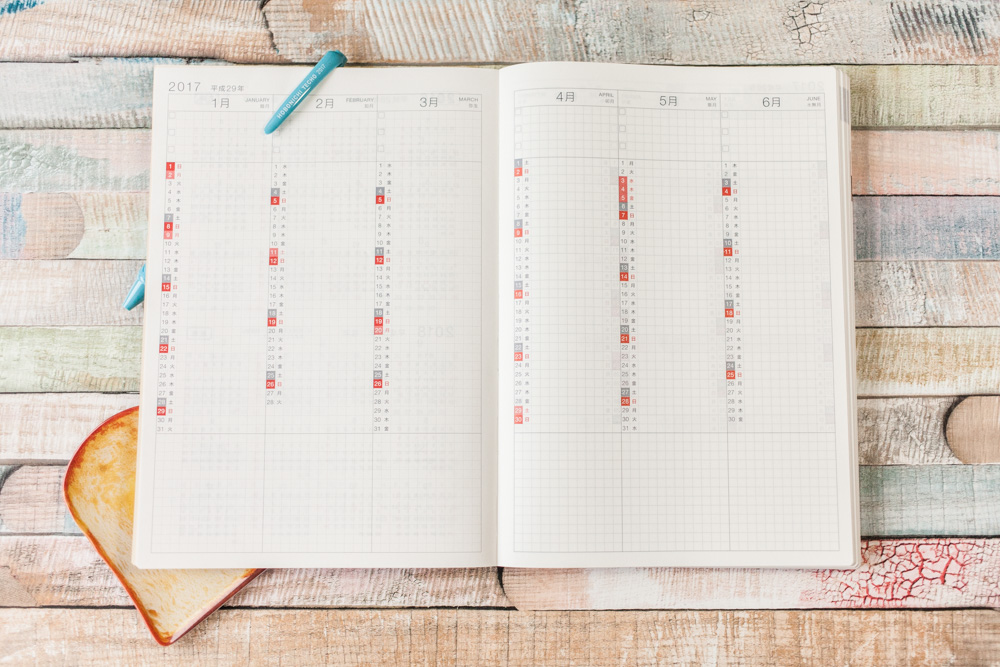
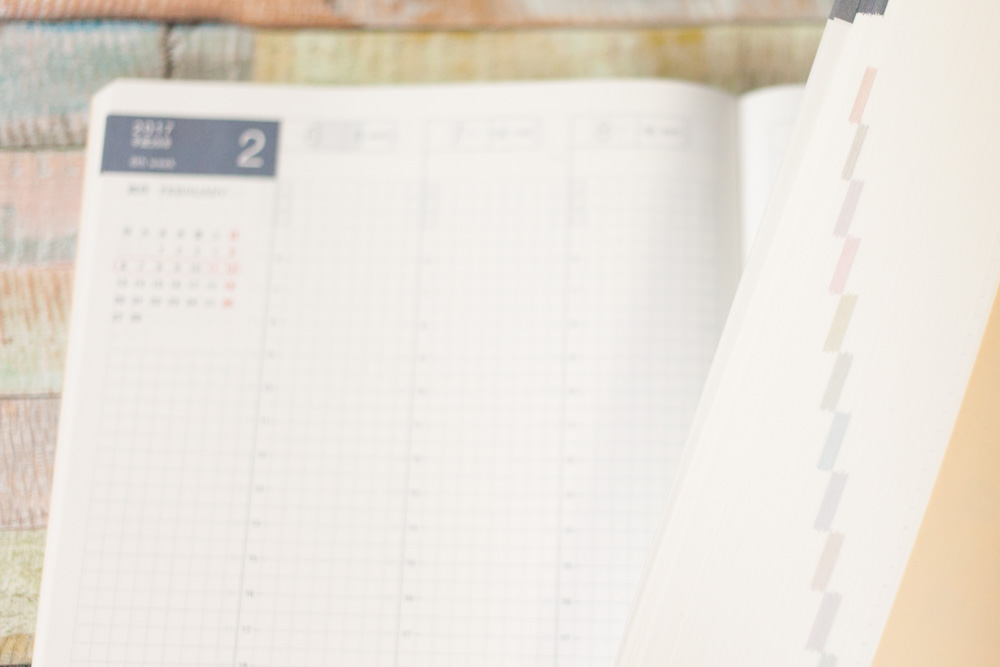
In the Hobonichi there are actually two styles of monthly views this is the first that you come across and it’s strange to see a vertical monthly calendar but I think this is going to be quite handy for tracking holidays, events and when Jono is in London or away on a conference. Here is a closer look at it.
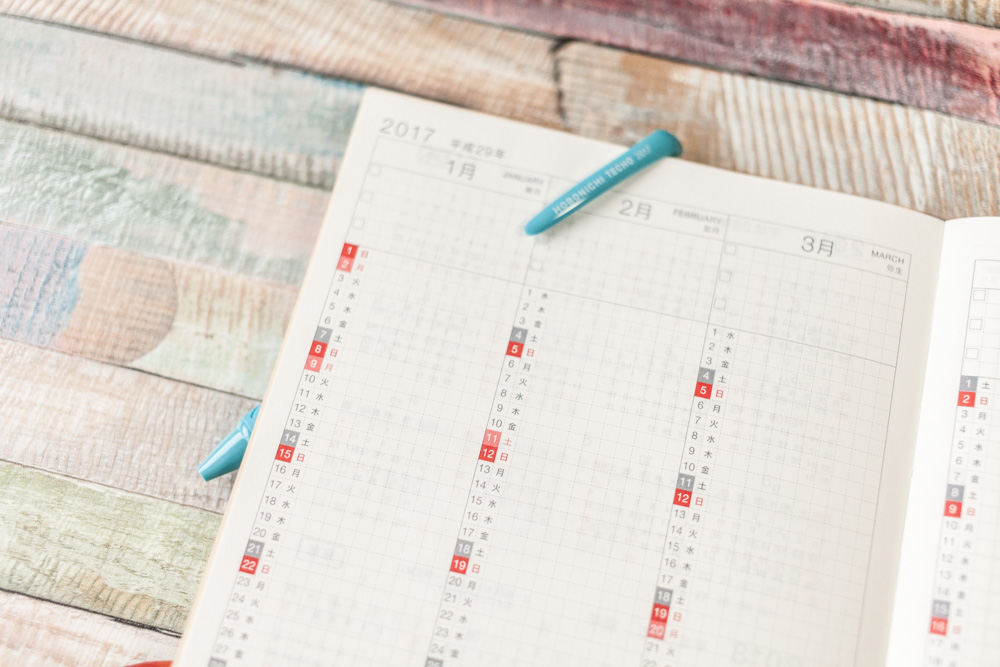
You do also have space at the tops for a top three tasks for the month and there is also space at the bottom as well. Very handy.
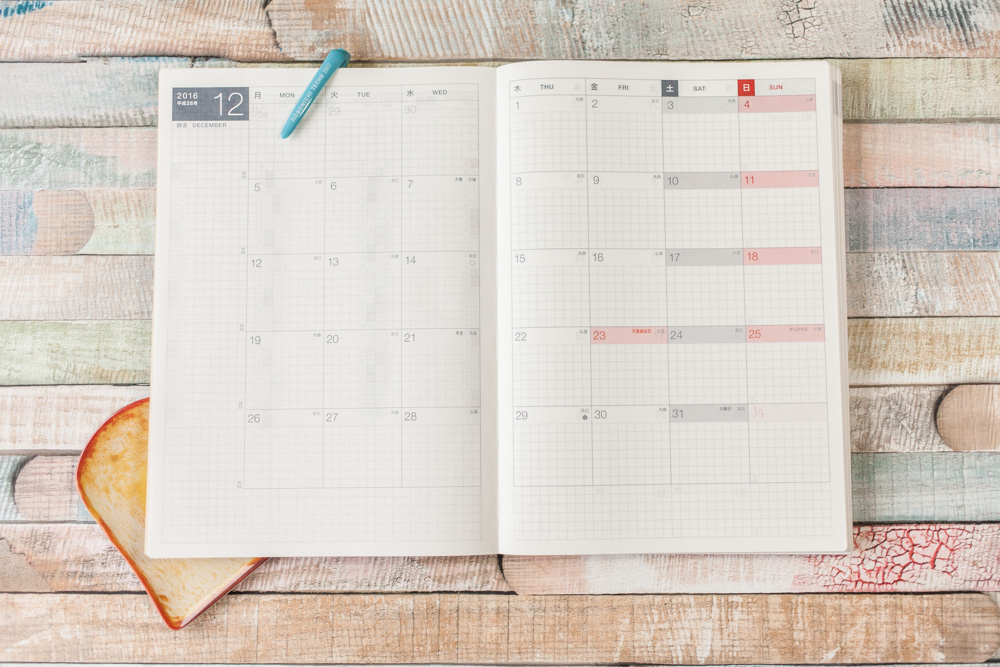
Next is the standard month on two pages. This is my goto page in any planner, I use my monthlies in a very utilitarian way and I don’t use a lot of stickers and washi I tend to use just coloured pens on my monthly pages because I need to see when stuff is happening and when my appointments are.
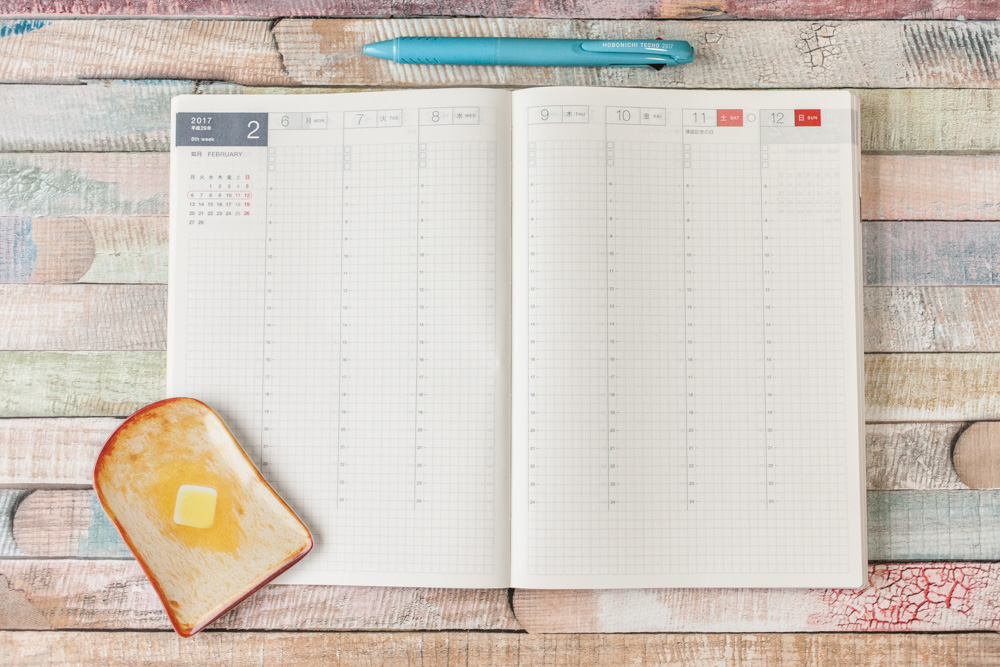
After the monthly pages that FYI go from December 2016 through to March of 2018, you get the weekly pages. This is great for people that need to have a week at a glance and when they have appointment or block of time to do certain tasks or need to track work hours. I am going to use it to track my work hours and when my downtime is, again I am probably going to use coloured pens or my mildliners on this spread so that I can quickly see what is happening.
On the left, you have a sidebar in which you can track tasks or have a running to-do list and at the top, you have a space for your top 3 tasks of the day. I am looking forward to using these pages like I said at the beginning I like to see the big picture and the details in my planner.

As with the monthly pages the weekends are together and highlighted in red, this is also true on the dailies but I’ll show you that in a bit.

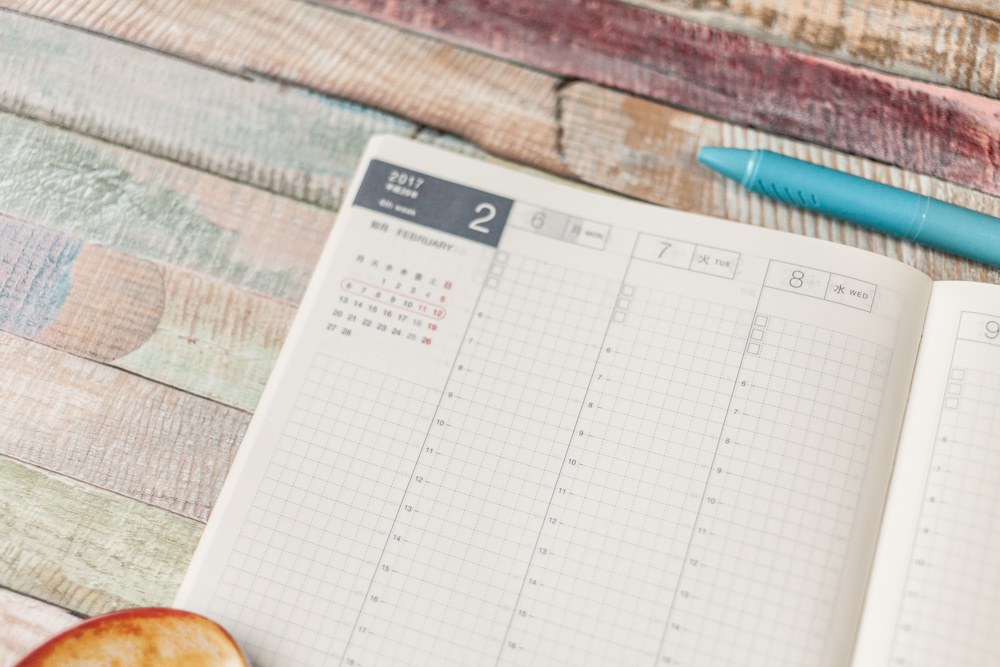
Now we get into the meat and potato of the Hobonichi planner. Look at all that space! This is such a free form planner and can really be adapted to anyone’s needs.

On the left of the page, you have a time ladder for you to plan out your day in more detail than that of the weekly pages. Then on the right you have a nice open space for to-do’s, get done’s, or just a running list of thoughts. At the top, there is space for a top 5 for the day. Each daily page has it’s own monthly colour.
You can just see them here. The Hobonichi is really a planner for people who need to have everything in one place, though it does not have lots of note paper in the back it does have 5 pages that you can write notes on. I am very much looking forward to using this in the new year as my catch all messy planner. I’m not really intending to use this as a prttey planner more as a dump for all my thought’s and then this will feed into my other planners.
So do you think you will be using a Hobonichi for 2017 or are you planning on using something else? Let me know in the comments below.
That’s all from me today! If you like what you have seen here make sure you hit that follow button on the left to get notifications whenever I post bloggity stuff. And you can follow me on Instagram @PlanningwithSam.
Laters!
Sam
I want one of these so much! Can you tell me, what’s the difference between the cousin version and the “original” version? You’ve just swayed me to cousin but I’ve only found out about these honeys in the last few weeks so don’t know much about either!
Hey, Melissa! The original is an A6 size rather than the A5 of the Cousin. The original also comes in Japanese and English were the cousin only comes in Japanese. I hope this helps. You can also check out my weekly blog post about how I am getting on with the layout as well and see if that helps.
Sam
Pingback: Hobonichi Weeks Mega Review - Sam Alderson