There are a few different types of pocket printers out there and HP released their Sprocket and I actually bought one for my sister for Christmas to print out pictures of my niece and put in an album. I, however, wanted to start doing some journaling and thought it would be nice to have a pocket printer again I looked at the HP but I was on the fence. Then I got an email from The Insiders about a campaign that they were doing with HP. So I signed up and was one of 50 picked to try the printer and review it for HP I have had it about a week and I am having mixed feelings about it. Bear in mind that I don’t have anything else to compare this to other than my actual Canon printer so I wanted to give you some first impressions and a look at the printer itself.
Inside the box
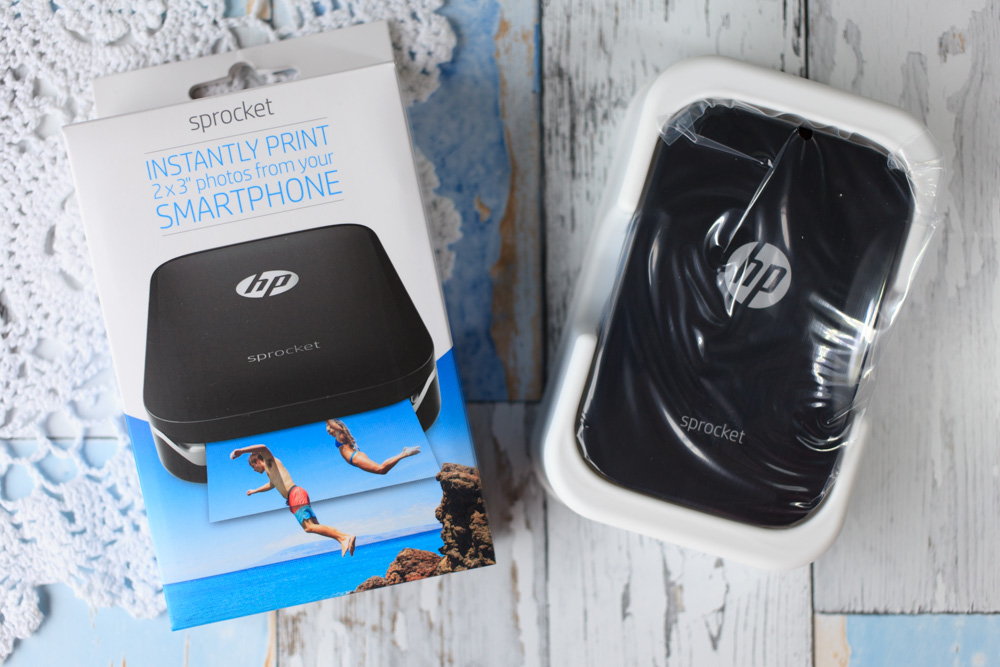
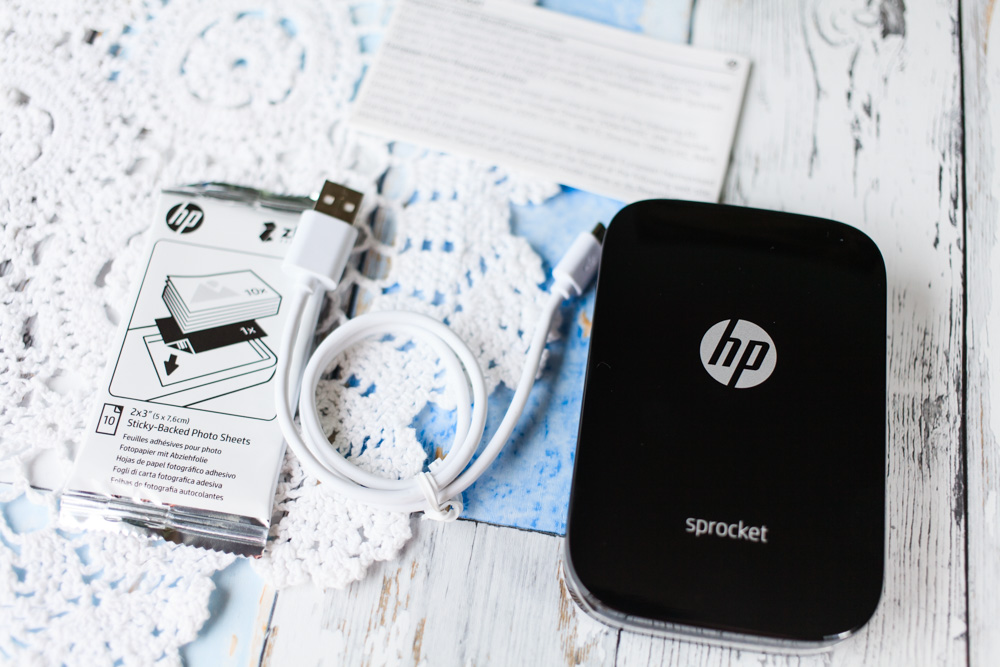
So when you get into the box the first thing that you see is the printer itself but it also comes with some Zink paper and a charging cable – I put mine straight on to charge because I knew I wanted to get a few photos printed for this review. It charged really quick I was quite happy with this. Here is a look at the box contents.
Pretty simple yeah! This was very easy to get set up and running and with apps on both ios and Android, both camps are covered. That is one thing that usually annoys me that they will have the app ready for one platform and not the other but HP has released this with both good to go. Let’s have a closer look at the actual printer.
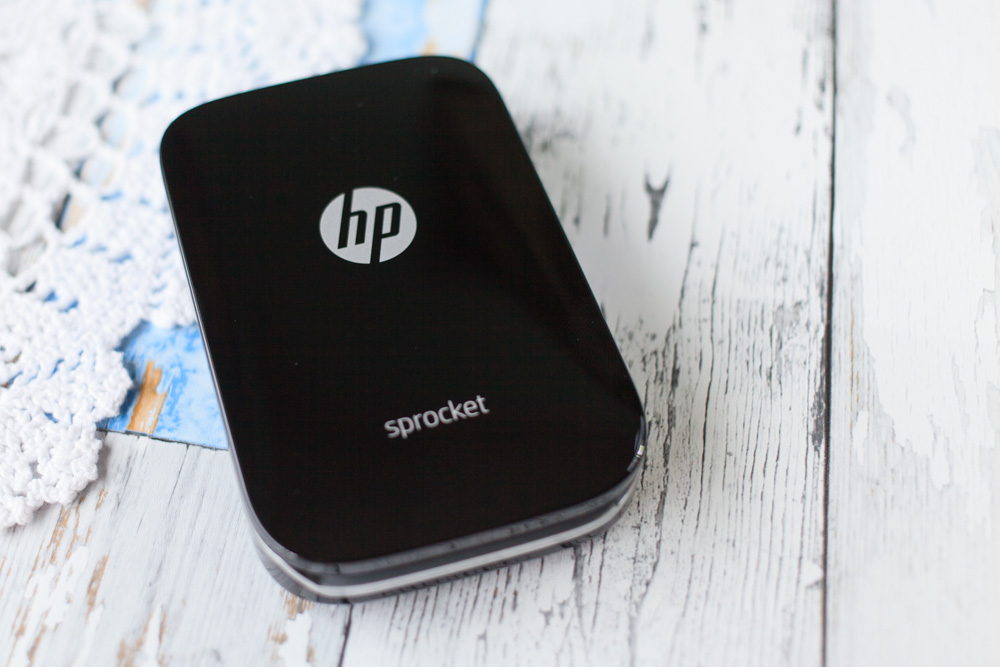
It is a very slick black and you can also get this in white as well. The top slides off so that you can insert the zink paper and then on the side there is the on button. It has a very simple profile not a lot to it but the easier to use the better I say.
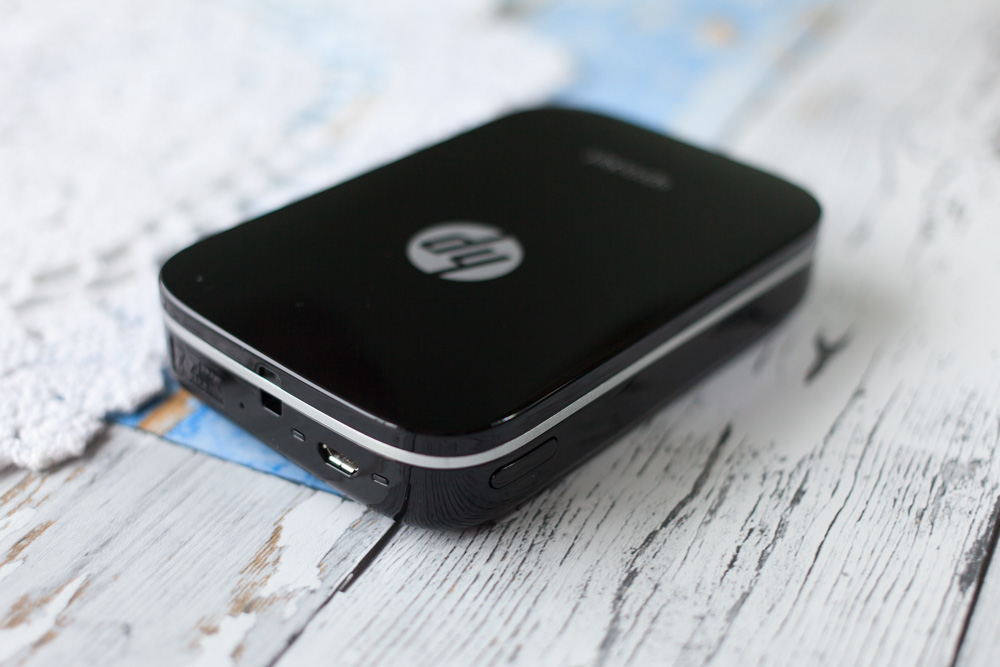
Here you can see the on button, the charging port and there is also a place that you can attach this to a lanyard or into your bag for you to take it on the go. This is also classed as the top of the printer. So while it is charging you need to get the app installed.
App

Again really easy to set up. You can link your Facebook, Instagram and Google photos to this, or you can choose from your gallery or take a photo with the app itself. really easy to use and you can add frames and stickers to the photos as well as doing some basic editing as well. So let’s get some paper loaded into this printer.
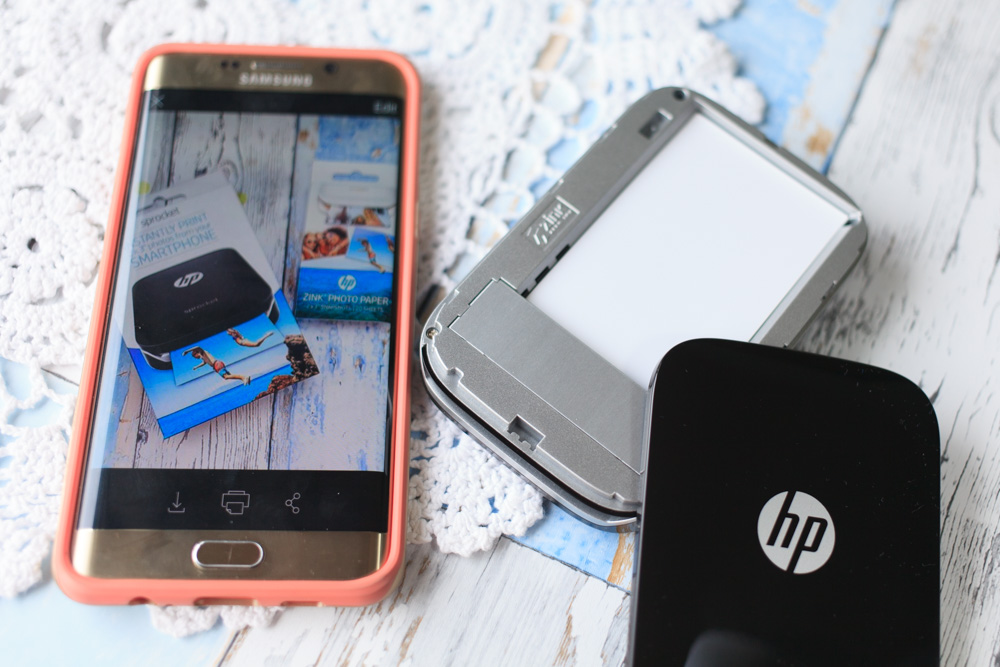
Set up

As I said the top slides off and the paper sits inside the printer itself. Instructions to load the paper correctly are on the packets of paper. The printer itself comes with a packet of 10 sheets of zink paper and you can always buy more.
So once you have your paper loaded (super easy) you can open a picture on the app and edit it a bit if you want – I’m just using one as is, for now, to see how it prints. So to send to the printer you hit that button in the middle at the bottom of the app. I’m using the android app, I’m not sure if it has the same layout in the ios app.
Printing

So it’s sent what now. Well give it a second and you will then hear it gearing up now because this is a fresh packet of zink paper there is a blue calibration card that is at the bottom of the pack that will come out first followed by your photos, shall we have a look.
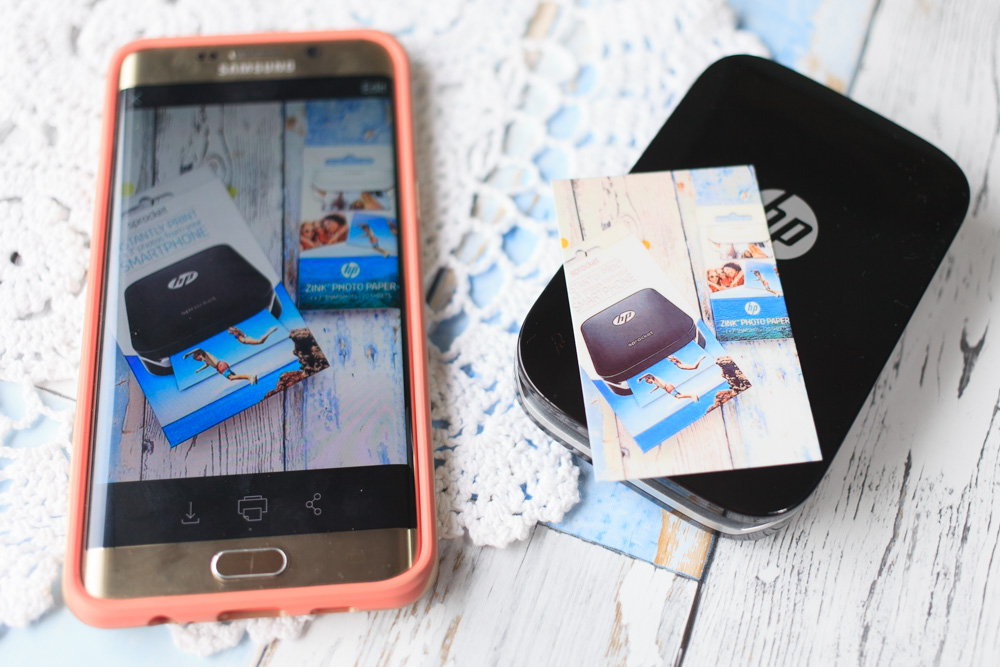
Not too shabby. Now because I am a photographer I instantly saw some flaws with this print, for example, it’s too bright, the contrast on the photo on my phone is no longer there and the whole picture looks warmer (more yellow/orange) then it should. Having said this I would not expect perfect photo printing from this kind of printer, if you were looking for super high-quality prints then you need to buy yourself a proper printer, but for on the go printing for memory keeping and printing off a photo for a family member, it’s not bad quality. Let’s try another photo.

Again same niggles for me, but not terrible quality. I’m actually quite impressed with this little printer. I’m going to be using it for my journal and memory keeping, which is what I would recommend people to use this for. One thing that I would advise if you are going to use as memory keeping is getting a collage app to put three or four photos together to maximize the 2×3 inch photo and because the zink paper is sticky back you don’t need to carry around glue with you. But you are going to need to get hold of some more paper.
Extra paper
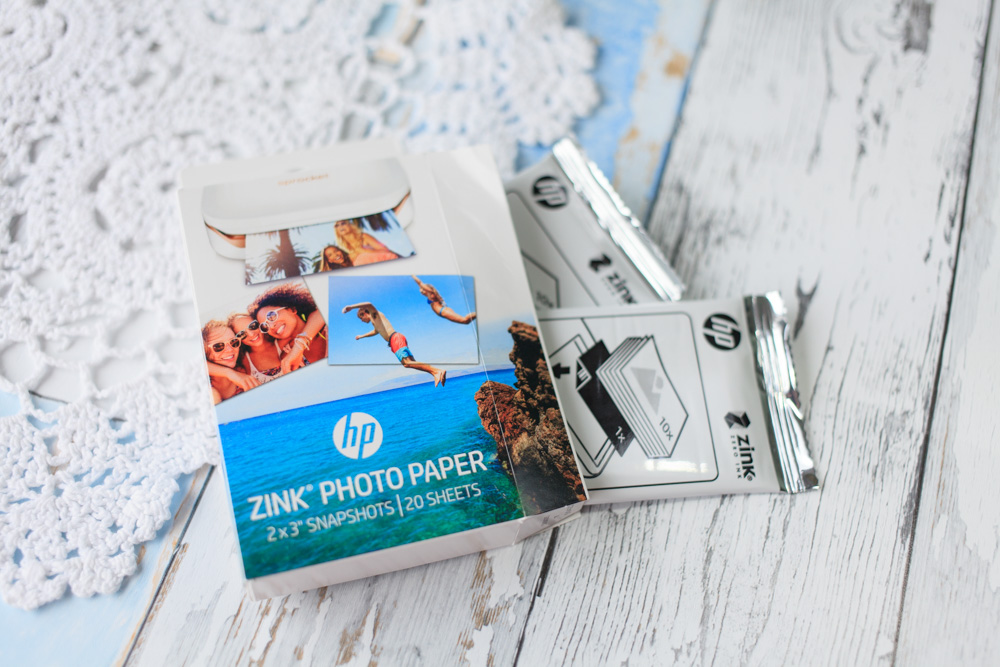
You can get these from a variety of online stores and each box comes with 20 sheets (2 packs of 10 sheets) so if you’re printing a photo a day you’ll get less than a month or if you print two photos per sheet you’ll get over a month of photos, it’s really up to you as to how you use it.
That’s all from me today! If you like what you have seen here make sure you hit that follow button on the left to get notifications whenever I post bloggity stuff. And you can follow me on Instagram @samaldersonplans.
Laters!
Sam